
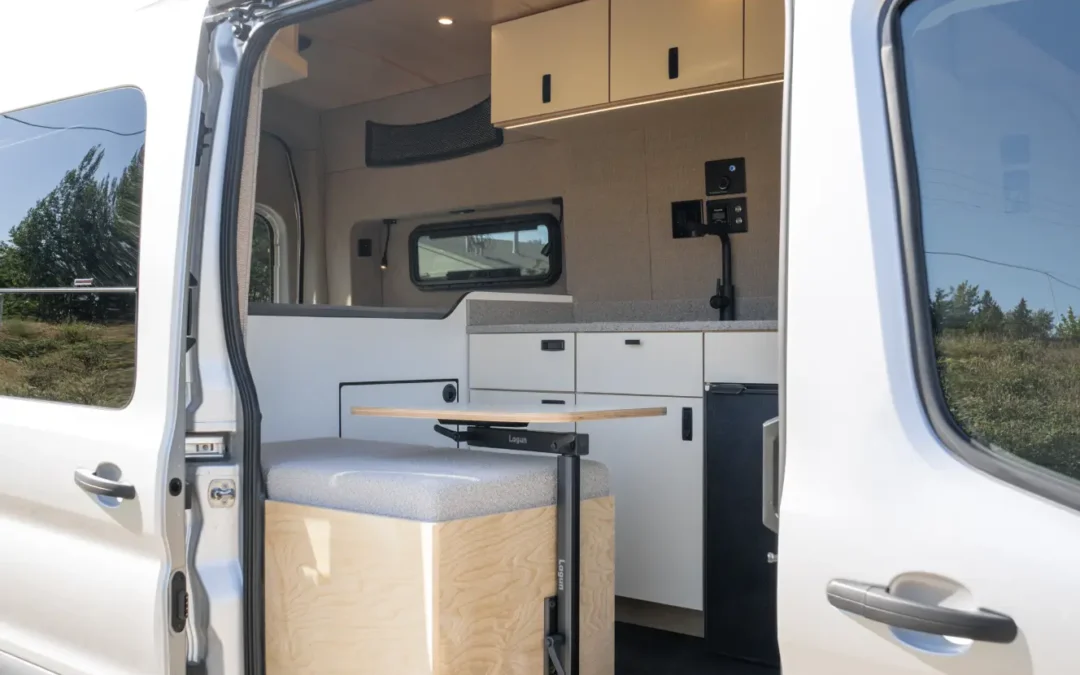
You’ve watched the build tours, saved a hundred layouts and you know exactly where you want to wake up next spring. Then the practical questions start. How does the custom van conversion process actually work? Who decides what and when? And how do you know the finished van will hold up on a snowy mountain pass?
If you’re researching builders in Marysville, Washington or anywhere in the Pacific Northwest, this guide walks through every stage, in order, so nothing about your build feels like a mystery.
What Is the Custom Van Conversion Process?
The custom van conversion process is the series of stages that turns an empty cargo van into a finished, road-ready home on wheels. It typically runs from a first consultation through design, estimate, build, testing and final delivery.
Each stage depends on the one before it. Skip a step or do them out of order and you’ll pay for it later in rework, delays or a van that doesn’t fit the way you travel.
Stage 1: The First Consultation
Every good build starts with a conversation, not a floor plan. The consultation is where a builder learns how you’ll actually use the van, because that answer drives nearly every decision that follows.
Come ready to talk about:
– How you’ll travel: weekend trips, months on the road or full-time living
– Who’s coming along: a solo traveler, a couple, a dog or a remote-working household
– Where you’ll go: desert heat, coastal rain or winter trailheads
– How far from a campground you want to be: occasional hookups or true off-grid independence
– What you can’t live without: a real shower, a permanent bed, a standing workspace
Pro tip: Bring photos of vans you love, but also bring the ones you don’t. Knowing what you dislike saves as much design time as knowing what you want.
If you’d like to get your ideas on paper before talking to anyone, the Start My Build questionnaire is a simple way to organize your needs and it gives the Treeline team a head start on your consultation.
Stage 2: Choosing the Right Base Van
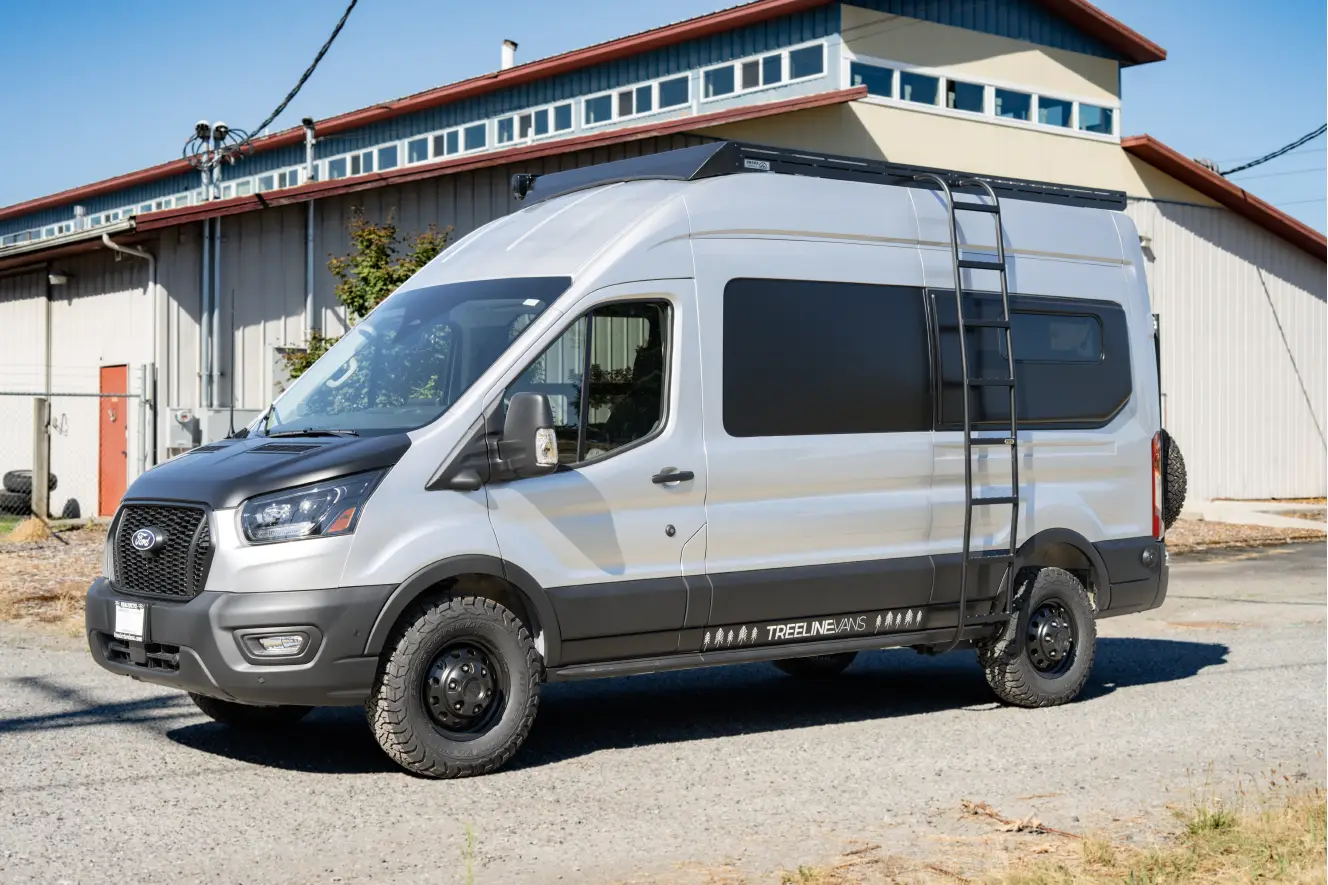
The base vehicle sets the ceiling for your build, so it deserves real thought. Many builders in this region work with the Ford Transit and for good reason. The wide, boxy interior gives designers a lot of usable floor and ceiling height and the front-wheel-drive layout keeps the load floor low and flat.
A few things matter more than people expect:
– Roof height and wheelbase, which control layout options and standing room
– Condition and history, especially if you’re supplying your own van
– Open recalls, which you can check by VIN through the National Highway Traffic Safety Administration recall lookup
– Weight, since cabinetry, water, batteries and gear all count against the van’s payload
A premium Ford Transit conversion is built around that payload number from day one. It’s much easier to plan weight than to fix it after the walls are closed.
Stage 3: Layout and Design Approval
This is the stage most people enjoy and it’s also where the biggest mistakes get prevented. A strong layout isn’t about cramming in features. It’s about flow: where you’ll cook, where you’ll sleep, where wet boots go and whether two people can pass each other without a shuffle.
Expect your builder to work through:
– Bed configuration and storage underneath it
– Kitchen placement, counter space and refrigeration
– Bathroom or wet-area needs
– Seating, workspace and fold-away options
– Window and vent locations
– Cabinet finishes, materials and color palette
Design approval is a real milestone. Once you sign off, the build specifications are locked in and changes after that point can affect cost and schedule. Take your time here. Sleep on it, sit in a taped-out floor plan and ask every question you have.
You can look at completed layouts on the featured van options page to get a feel for what’s possible before your design conversation.
Stage 4: The Estimate and Quote
A clear estimate protects both sides. It should explain what’s included, what’s optional and what could change the number. Be cautious of any quote that’s a single line item with a total at the bottom.
The biggest cost drivers in a custom build are usually:
– The electrical system: battery capacity, solar, inverter and charging
– Heating and climate control for four-season use
– Water systems, from simple tanks to full plumbing
– Cabinetry, materials and finish level
– Insulation and ventilation strategy
– Specialty features you request along the way
Pricing varies widely from one build to the next because no two vans are alike. That’s the nature of true custom work. The most useful thing you can do is share your priorities early, so your builder can help you spend where it counts.
Stage 5: The Build Itself
Here’s where the vision becomes a vehicle. A well run build follows a deliberate sequence, because the parts you’ll never see again need to be right before anything covers them up.
Typically, the order looks like this:
- **Preparation and metalwork.** Floor, walls and roof are prepared and any openings for vents and windows are cut and sealed.
- **Insulation and moisture control.** This stage determines how comfortable the van feels in a Washington winter and how well it handles condensation.
- **Rough in of electrical and plumbing.** Wiring paths, water lines and system components are installed while walls are still open.
- **Power and heating systems.** Batteries, solar, charging and heaters go in and get connected.
- **Cabinetry and flooring.** Custom built pieces are fitted to the van, not the other way around.
- **Interior finishes and detailing.** Surfaces, lighting, hardware and final touches.
Notice that the pretty parts come last. That’s intentional. A beautiful interior over sloppy hidden work is the most expensive kind of disappointment.
During the build, ask how updates will be shared. Regular progress photos and clear check ins keep you in the loop and let you catch small questions before they become big ones.
How Long Does a Custom Van Conversion Take?
There’s no single honest number. A custom van conversion timeline depends on the complexity of your design, the systems you choose, material availability and where your build sits in the schedule.
Two things have the biggest effect:
– Lead time before your build starts, which depends on the builder’s current workload
– Design decisions made late, which can pause progress while parts are reordered or work is redone
The best way to get an accurate answer is to ask directly, once your design is approved. A builder who gives you a schedule with milestones, not a vague “a few months,” is usually one who plans well.
If you’re comparing timelines across builders, our van conversion build guide explains what each phase involves, which makes those conversations much easier.
Stage 6: Inspection, Testing and the Final Walkthrough
Before any van leaves the shop, every system should be tested under real conditions, not just checked off a list. That means running the electrical system under load, checking water lines for leaks, testing heaters and ventilation and confirming that doors, latches and cabinets work as they should.
A thorough final inspection usually covers:
– Electrical performance and battery charging
– Plumbing, tanks and pumps
– Heating, airflow and moisture control
– Fit, finish and fasteners
– Safety items and securing of heavy components
Then comes the final walkthrough, which is one of the most valuable hours in the whole process. You’ll see how each system works, where shutoffs and fuses live and how to care for the interior. Ask questions. Take video if your builder is fine with it. Future you, parked somewhere remote, will be glad you did.
Delivery Day and What Comes After
Handoff should feel like a celebration and a handover of knowledge at the same time. You should leave knowing how to operate your power system, winterize the water system and handle basic maintenance.
Registration and titling rules for converted vehicles can vary, so check current requirements with the Washington State Department of Licensing before you finalize paperwork.
And after delivery? A builder worth hiring wants your van to work well for years, not just on pickup day. Ask what support looks like once you’re on the road.
What Makes a Pacific Northwest Van Build Different?
Building for Washington isn’t the same as building for Arizona. Our region is wet for much of the year and it’s famous for mountain passes where winter conditions can change in an hour.
That has real design consequences:
– **Moisture control matters.** Damp air plus a sealed metal box equals condensation, so insulation and ventilation need to work together.
– **Heating needs to be dependable.** If your plans include ski trips or shoulder-season travel, a four-season van conversion should be designed for cold from the start.
– **Power must handle short days.** Winter sun is limited, so battery and charging plans should reflect that.
– **Materials should tolerate humidity.** Finishes chosen for a dry climate may not age well here.
This is why a locally experienced builder can make a real difference. Treeline Vans builds in Marysville, Washington, which puts the shop close to the Seattle and Everett corridor and within reach of the Cascades, the Olympic Peninsula and the San Juan ferries. Customers from other states travel here for specialist builds, too.
How Do You Choose a Custom Van Builder in Washington?
Ask questions that reveal how a builder actually works, not just what they say in marketing:
– Can I see completed builds and can you explain what’s behind the walls?
– What does your design approval process look like?
– How do you handle weight planning and payload?
– How will you share progress during the build?
– What testing happens before delivery?
– What support is available after I take the keys?
Clear, confident, specific answers are a good sign. Vague ones are worth noticing.
Custom Van Conversion Process FAQs
How does the custom van conversion process start?
It starts with a consultation where you discuss how you’ll use the van, your travel style and your must have features. From there, the builder moves into base van selection, layout design and a detailed estimate.
Do I need to provide my own van?
That depends on the builder and the project. Ask during your consultation whether sourcing the van is something your builder can help with and what condition requirements apply if you bring your own.
Can I make changes after design approval?
Small changes may be possible, but they can affect cost and schedule. That’s why the design stage deserves your full attention before you sign off.
What’s included in the final walkthrough?
A good walkthrough covers how each system operates, how to maintain it and what to do in common situations on the road. You should leave feeling confident, not overwhelmed.
Can a conversion be built for four-season and off-grid travel?
Yes. Four season capability and off grid power are design goals, not add ons. They shape insulation, heating, electrical capacity, water systems and ventilation from the very first layout decision.
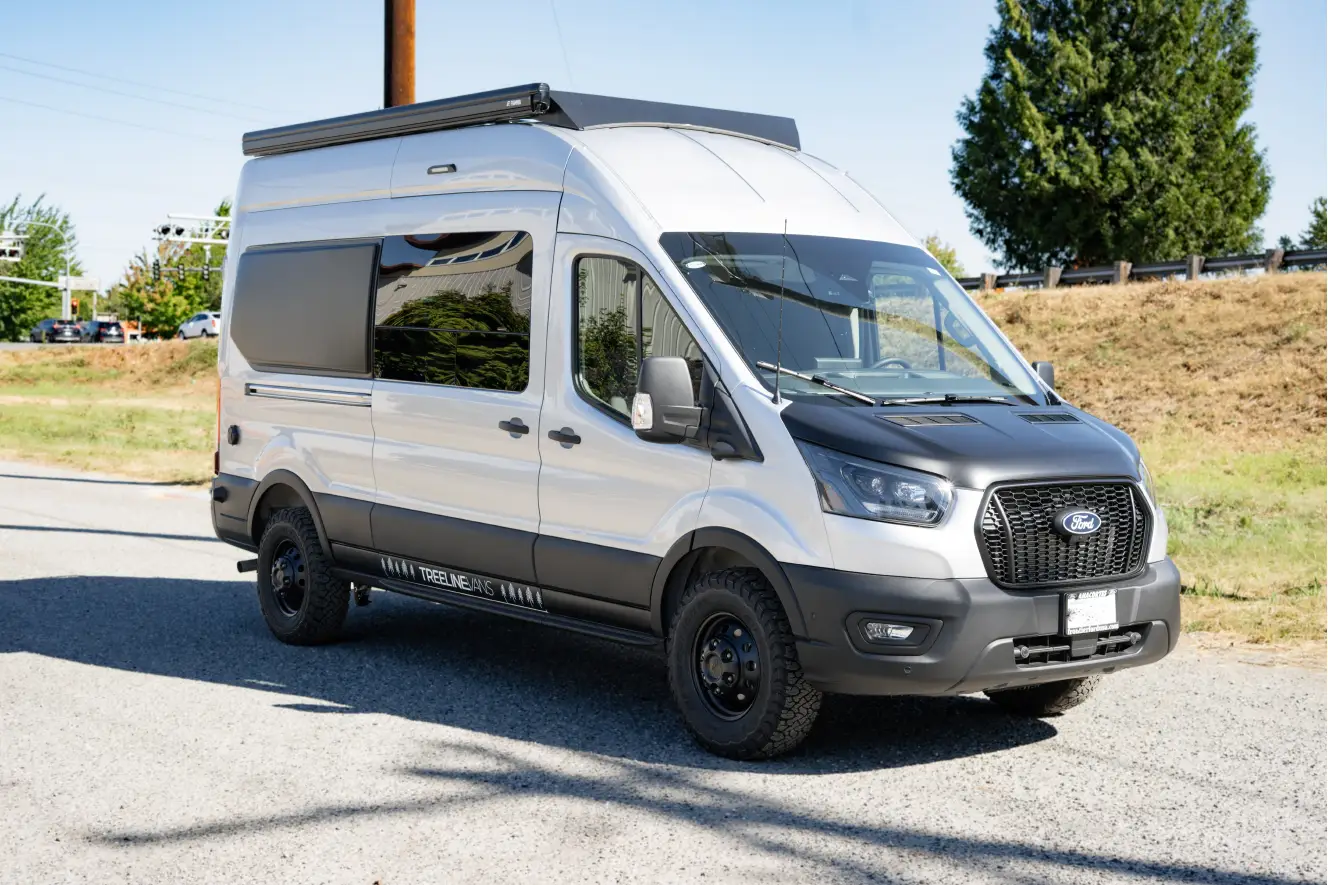
Start Your Custom Van Conversion in Marysville, WA
The best builds begin with a clear plan and a builder who listens. If you’re ready to turn your travel dreams into a van that’s made for the way you live, we’d love to talk.
Browse our custom van builds for inspiration or contact Treeline Vans to schedule a consultation in Marysville, Washington. That first conversation is the real first step toward the road.
Recent Comments